Lighting Wire Size Label Settings
Lighting Wire Size Label Settings
Wire Size Label Settings
Menu: |
Tools
 Options
Lighting Options
Lighting |
During the Lighting Calculations,
a label is placed on the design screen to indicate the size of the wire.
In the Lighting Options, you
can adjust the characteristics of the wire size labels that appear in
the design.
To set the characteristics of the wire size
labels:
When wire size labels are placed on the design during
either the Lighting Calculations command, it may be necessary to offset
the symbols further from the wire. This will prevent the symbols
from being drawn directly on top of the wire and will give the drawing
more clarity. In the Label
Offset text box, type in the desired number of units
to place the wire size labels in relationship to a piece of wire.
To assign a color to the wire size label, click on
the Label Color button. Click
on the color of your choice or enter the Red, Green, and Blue values
in the associated text boxes. Click on the OK
button to accept the color assignment.
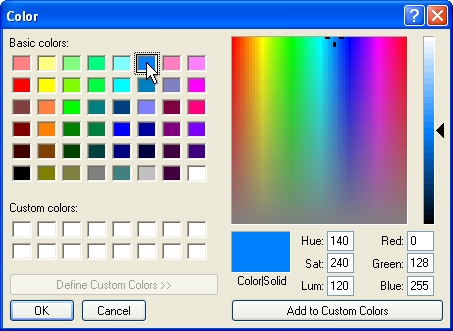
Select a color assignment and click on the OK button.Label Color
Enter the height of the font for the wire size labels
in the Label Size text box.
The height is related to the units of measurement
setting. For example, a setting of 10 will equate to 10 feet
or 10 meters depending on the units of measurement setting.
A leader is attached from a wire size label to a piece
of wire to further indicate which label is associated to a piece of
pipe. Select a Leader Color
by clicking on the colored rectangle one time with the left mouse
button to open the Color dialog
box. Select a color and click on the OK
button. For more information within the Color dialog box, press
the right mouse button for What's
This help or click on the Question
Mark near the top right corner of the dialog box and then click
on an item.
Adjust the width of the leader line by entering a
value in the Leader Thickness
text box.
To adjust the size or color of the existing wire size
labels or leaders on the design, enter or select the values and click
on the Apply button.
Note:
You can override the wire size label location on the
design screen using the Properties command.
Select a piece of wire and click on the Override
Label Point checkbox. The wire size label will attach
to the mouse cursor. You can then place the label in a new location
by clicking on the design screen with the left mouse button. To
return the label to its original position, un-check the Override Label
Point checkbox.
To remove a label from the design screen, click on
the Show Label
checkbox in the Properties
command until the checkmark is removed.
Back to All Topics