Wire/Cable
Wire/Cable
Wire/Cable
|
Menu:
|
Irrigation  Wire/Cable Wire/Cable
|
|
Toolbar Icon:
|

|
The Wire/Cable command allows you to draw wire or cable from the irrigation controller to each individual control valve. You can change the label indicating the wire size on the design screen and the color of the wire.
To start adding wire/cable to the drawing screen:
-
Click on a wire selection one time with the left mouse button.
-
Under the Wire Settings header, enter a label to indicate the size of the wire on the design screen in the Label text box. Examples of wire size labels are 14, 14 Ga., 14 Gauge.
-
To assign a to the selected wire size, click on the Color button. Click on the color of your choice or enter the Red, Green, and Blue values in the associated text boxes. Click on the OK button to accept the color assignment.
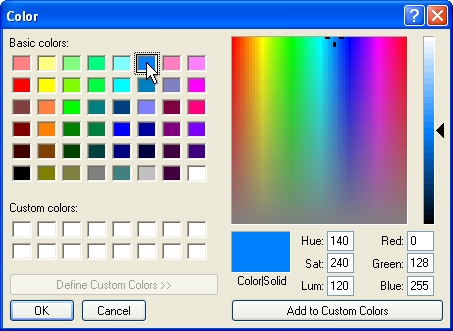
Select a color assignment and click on the OK button.
-
To begin drawing wire on the design, click on the Draw Wire button.
-
Set two or more points to draw a piece of wire. You may press the Esc key to "backup" and remove points set while drawing wire. Press the Enter key to end a piece of wire. Continue placing additional wire as necessary.
-
Press the Esc key to end the command and return to the Wire/Cable Placement dialog box.
-
Click on the Close button to exit the dialog box.
Note:
Back to All Topics