Fixture Placement
Fixture Placement
Fixture Placement
Menu: |
Lighting
 Fixtures Fixtures |
Toolbar Icon: |

|
The Fixture Placement command
allows you to place accent lighting fixture symbols on the drawing screen.
You may place as many fixtures on the drawing screen as necessary. The
fixtures are separated by category to help filter the selections. Each
manufacturer may have its own categories of fixtures. You can add, delete or rename the category
selections.
To begin placing a fixture on the design:
Select a Manufacturer
from the drop down menu.
Click on the Fixtures
tab.
Select the fixture Category
from the drop down menu.
Select a fixture
and adjust any settings as necessary.
Click on the OK
button to begin placing the fixture symbol on the design screen.
To place a fixture symbol:
The symbol representing the fixture will appear on
your cursor. The cursor will change to a plus (+) sign. Move
the mouse cursor where the fixture should be located on the drawing
and click one time with the left mouse button.
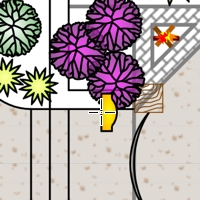
Click one time to set the fixture location
Rotate the
fixture symbol to any angle and click a second time to complete the
placement process.
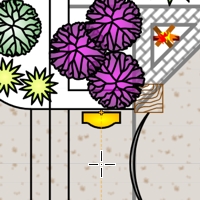
Rotate the fixture symbol to any angle
Another fixture of the same type will appear on the
mouse cursor. Continue placing additional fixture symbols as
necessary.
Press the Esc
key to end the command and return to the Fixture
Placement dialog box.
Click on the Close
button to exit the dialog box.
Note:
Back to All Topics