Crop Image
Crop Image
Crop Image
After using the Insert Image command to place an image onto the design screen, you may Crop the image to remove unwanted areas. Cropping will allow you to select a square or rectangular area that you want to keep while discarding the remainder of the image. This will result in a smaller file size while not affecting the image's resolution.
To crop an image file:
-
Click on the Crop Image  icon.
icon.
-
A box with eight selection handles will appear around the image.
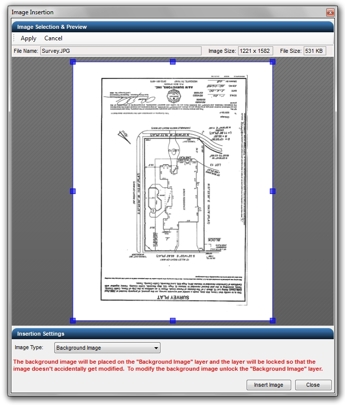
Image with original crop selection handles.
-
Place the mouse cursor over a selection handle. Press and hold down the left mouse button. Drag the handle to a new location and release the left mouse button.
-
Continue moving the selection handles until the cropping box is positioned in the desired location.

Image with box positioned for cropping.
-
Click on the Apply button to crop the image and removed the unwanted portions.
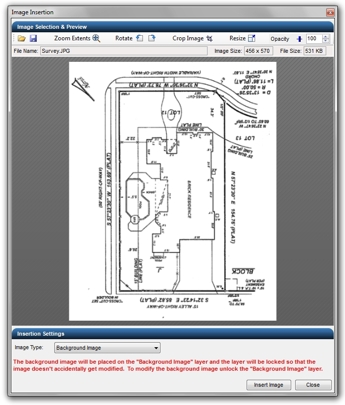
Image cropped to new boundaries.
-
Save  the image to a new file name before clicking on the Insert Image button.
Note:
-
The background image is automatically placed on a Background Image layer. The layer is locked  to prevent moving the background image during the design process. You can unlock
  the layer in the Layer Manager.
-
You can scale an existing image on the design screen by using the Scale command.
Back to All Topics