Area Selection Methods
Area Selection Methods
Area Selection Methods
Several commands such as Drip Tubing,
Plant Placement, and Area/Volume
Calculations require you to define an area prior to completing a task.
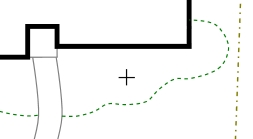
You can manually draw a continuous line outlining the perimeter
of an enclosed area. You can outline an area by setting a point
within a closed area, or by selecting the lines, curves, circles, or arcs
that make up the area.
To manually outline an area:
Select Draw Manual
from the drop down menu.
Click on the Add
 button and follow the prompts in
the Status Bar.
button and follow the prompts in
the Status Bar.
Set three or more points on the design screen by clicking
with the left mouse button to outline an area.
Press the Enter
key on the keyboard to end the line.
If outlining a Drip
Area or Drip Boundary,
continue outlining another area or press the Esc
key to return to the dialog box.
To create an area by setting a point:
Select From Point
from the drop down menu.
Click on the Add
button and follow the prompts in
the Status Bar.
Click one time with the left mouse button inside
of an area totally enclosed by lines, curves, circles, or arcs.
|
Click
inside of enclosed area. |
The area will be created and the dialog box will reappear.
To create an area by selecting entities:
Select From Selection
from the drop down menu.
Click on the Add
button and follow the prompts in
the Status Bar.
Select the lines,
curves, circles, or arcs that totally enclose an area.
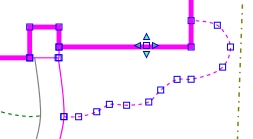
|
Selected
entities enclosing an area. |
The area will be created and the dialog box will reappear.
If there is more than one enclosed area:
A message will appear indicating that more than one
enclosed area is detected.
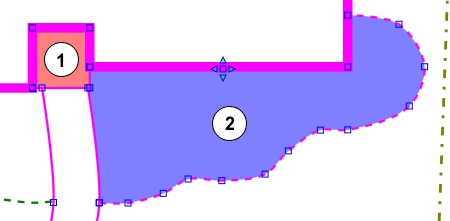
|
When selecting
entities, two areas exist for creating a boundary. |
Click one time with the left mouse button inside
of the area to enclose with a boundary line.
The area will be created and the dialog box will reappear.
Note:
The command will ignore miscellaneous symbols, landscape
symbols, and irrigation symbols such as sprinklers, valves, and pipe.
Back to All Topics