Blog Post
-
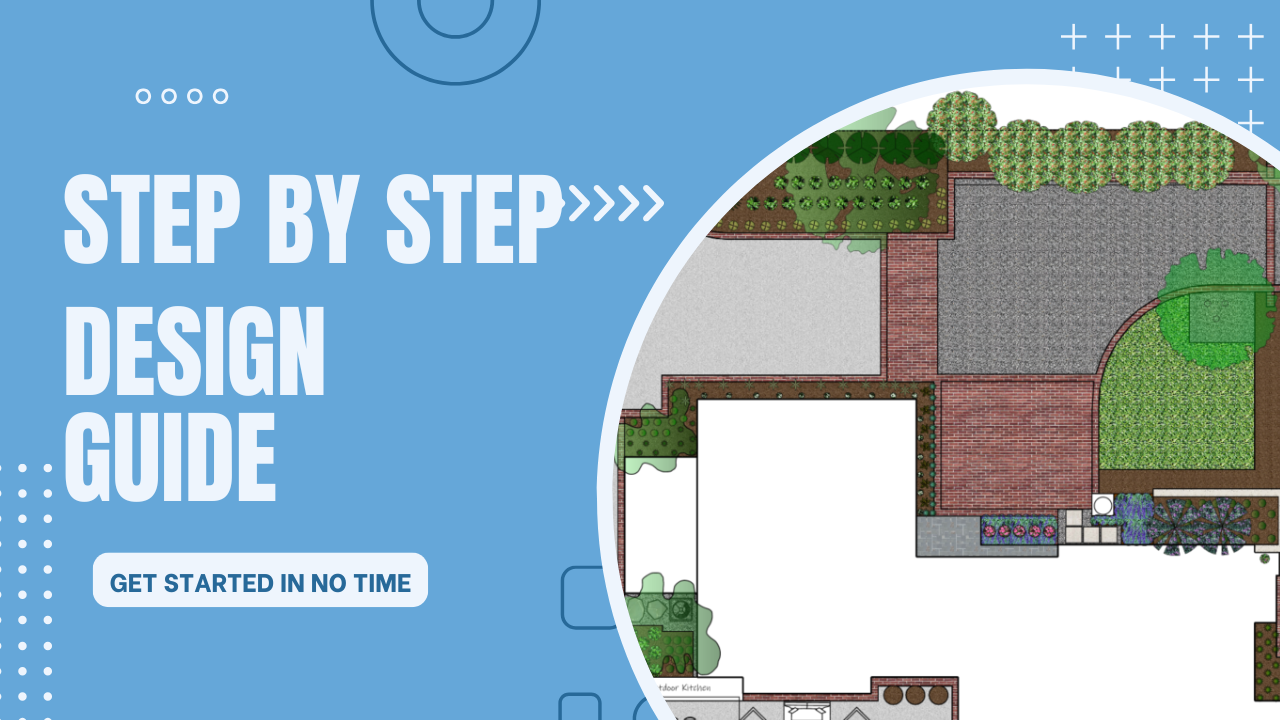
Step-by-Step Guide to Creating 2D Landscape Designs with Pro Contractor Studio
May 05, 2025
Introduction
2D landscape design may not be flashy, but it's the foundation of every great outdoor project. It provides a clear, scalable plan for plantings, hardscapes, irrigation, lighting, and drainage. Whether you’re a seasoned professional or just getting started, creating accurate, detailed 2D plans helps communicate your vision and streamline execution.
Pro Contractor Studio is a powerful tool that simplifies the entire process. With intuitive drafting tools and landscape-specific features, it's ideal for building professional-grade site plans. Here’s a step-by-step guide to creating your next 2D landscape design using Pro Contractor Studio.
1. Set Up Your Project Workspace
Begin by launching the software and starting a new project. Set your page scale and drawing units based on the size and scope of your project—typically 1/8" = 1'-0" or similar.
Import a site image or base plan if available. This could be a surveyor’s plat, drone image, or satellite view. Align it with your drawing scale for accuracy and easier site planning.
2. Define Property Boundaries and Existing Features
Use the line and shape tools to map out property lines, building footprints, fences, and existing trees or hardscapes that will remain. This establishes context and keeps your design grounded in the site’s real-world layout.
3. Start With the Hardscape Elements
Begin your design with patios, walkways, driveways, and retaining walls. Pro Contractor Studio offers tools specifically for these elements. Use the polygon, arc, and offset features to create smooth, precise outlines. You can assign materials and textures later for presentation clarity.
4. Add Planting Areas and Symbols
Now it’s time to plan your green spaces. Use plant beds and tree symbols from the built-in libraries. You can customize plant types and label them with botanical or common names for client reference.
Group plantings logically—place larger anchor trees and shrubs first, then add perennials and groundcovers. Pro tip: use different line types or hatch patterns to distinguish between layers and enhance readability.
5. Insert Irrigation Zones and Layouts
With the irrigation tools in Pro Contractor Studio, you can design zones based on plant groupings and sun/shade exposure. Place spray heads, drip lines, rotors, and valves, and connect them with lateral and mainline piping.
The software even includes calculations to verify coverage and pressure, saving time and reducing errors.
6. Incorporate Lighting and Drainage
Even in 2D, you can map out lighting zones and fixture locations for nighttime aesthetics and safety. Use standard symbols or create your own to show uplights, path lights, and downlights.
For drainage, identify natural slopes, swales, and runoff paths. Insert French drains, catch basins, or dry creek beds as needed. Pro Contractor Studio helps you visualize how these elements integrate across the site.
7. Add Annotations, Labels, and Legends
Clear labeling is essential. Use text tools to add notes, plant lists, and material callouts. Include a legend or key for symbols used throughout the drawing. Add north arrows and a graphic scale bar for orientation.
8. Finalize and Export Your Design
Once your plan is complete, review everything for accuracy. Use layer controls to clean up your view and turn off reference images or construction lines. Pro Contractor Studio allows you to export your plan as a PDF, JPG, or DXF file, ready for presentation or permitting.
You can also print plans to scale, share them digitally, or save them in your project archive for future edits.
Conclusion
2D landscape design is the unsung hero of outdoor planning. With the right tools and workflow, it becomes a powerful way to convey ideas, coordinate with crews, and bring outdoor spaces to life.
Using Pro Contractor Studio not only speeds up the drafting process but also gives your designs the polish and professionalism clients expect. Whether you're mapping out a backyard retreat or a large-scale commercial site, this step-by-step approach ensures your plans are functional, detailed, and ready for real-world success.